Getting Proxmark3 setup using WSL2
Table of Contents
Intro
As fun as exploitation and shenanigans can be, they usually start and end with “look at what’s on my screen.” Today, we’re going to move into the “hey, this is actually tangible and useful” category of technobabble.
Introducing the Proxmark3: an open-source device that’s essentially two antennas connected to a microcontroller and FPGA. The low-frequency antenna handles RFID systems around 125 and 134 kHz, while the high-frequency antenna is tuned specifically for 13.56 MHz. It's about the size as a 2012 era iPod and costs about $30 USD.
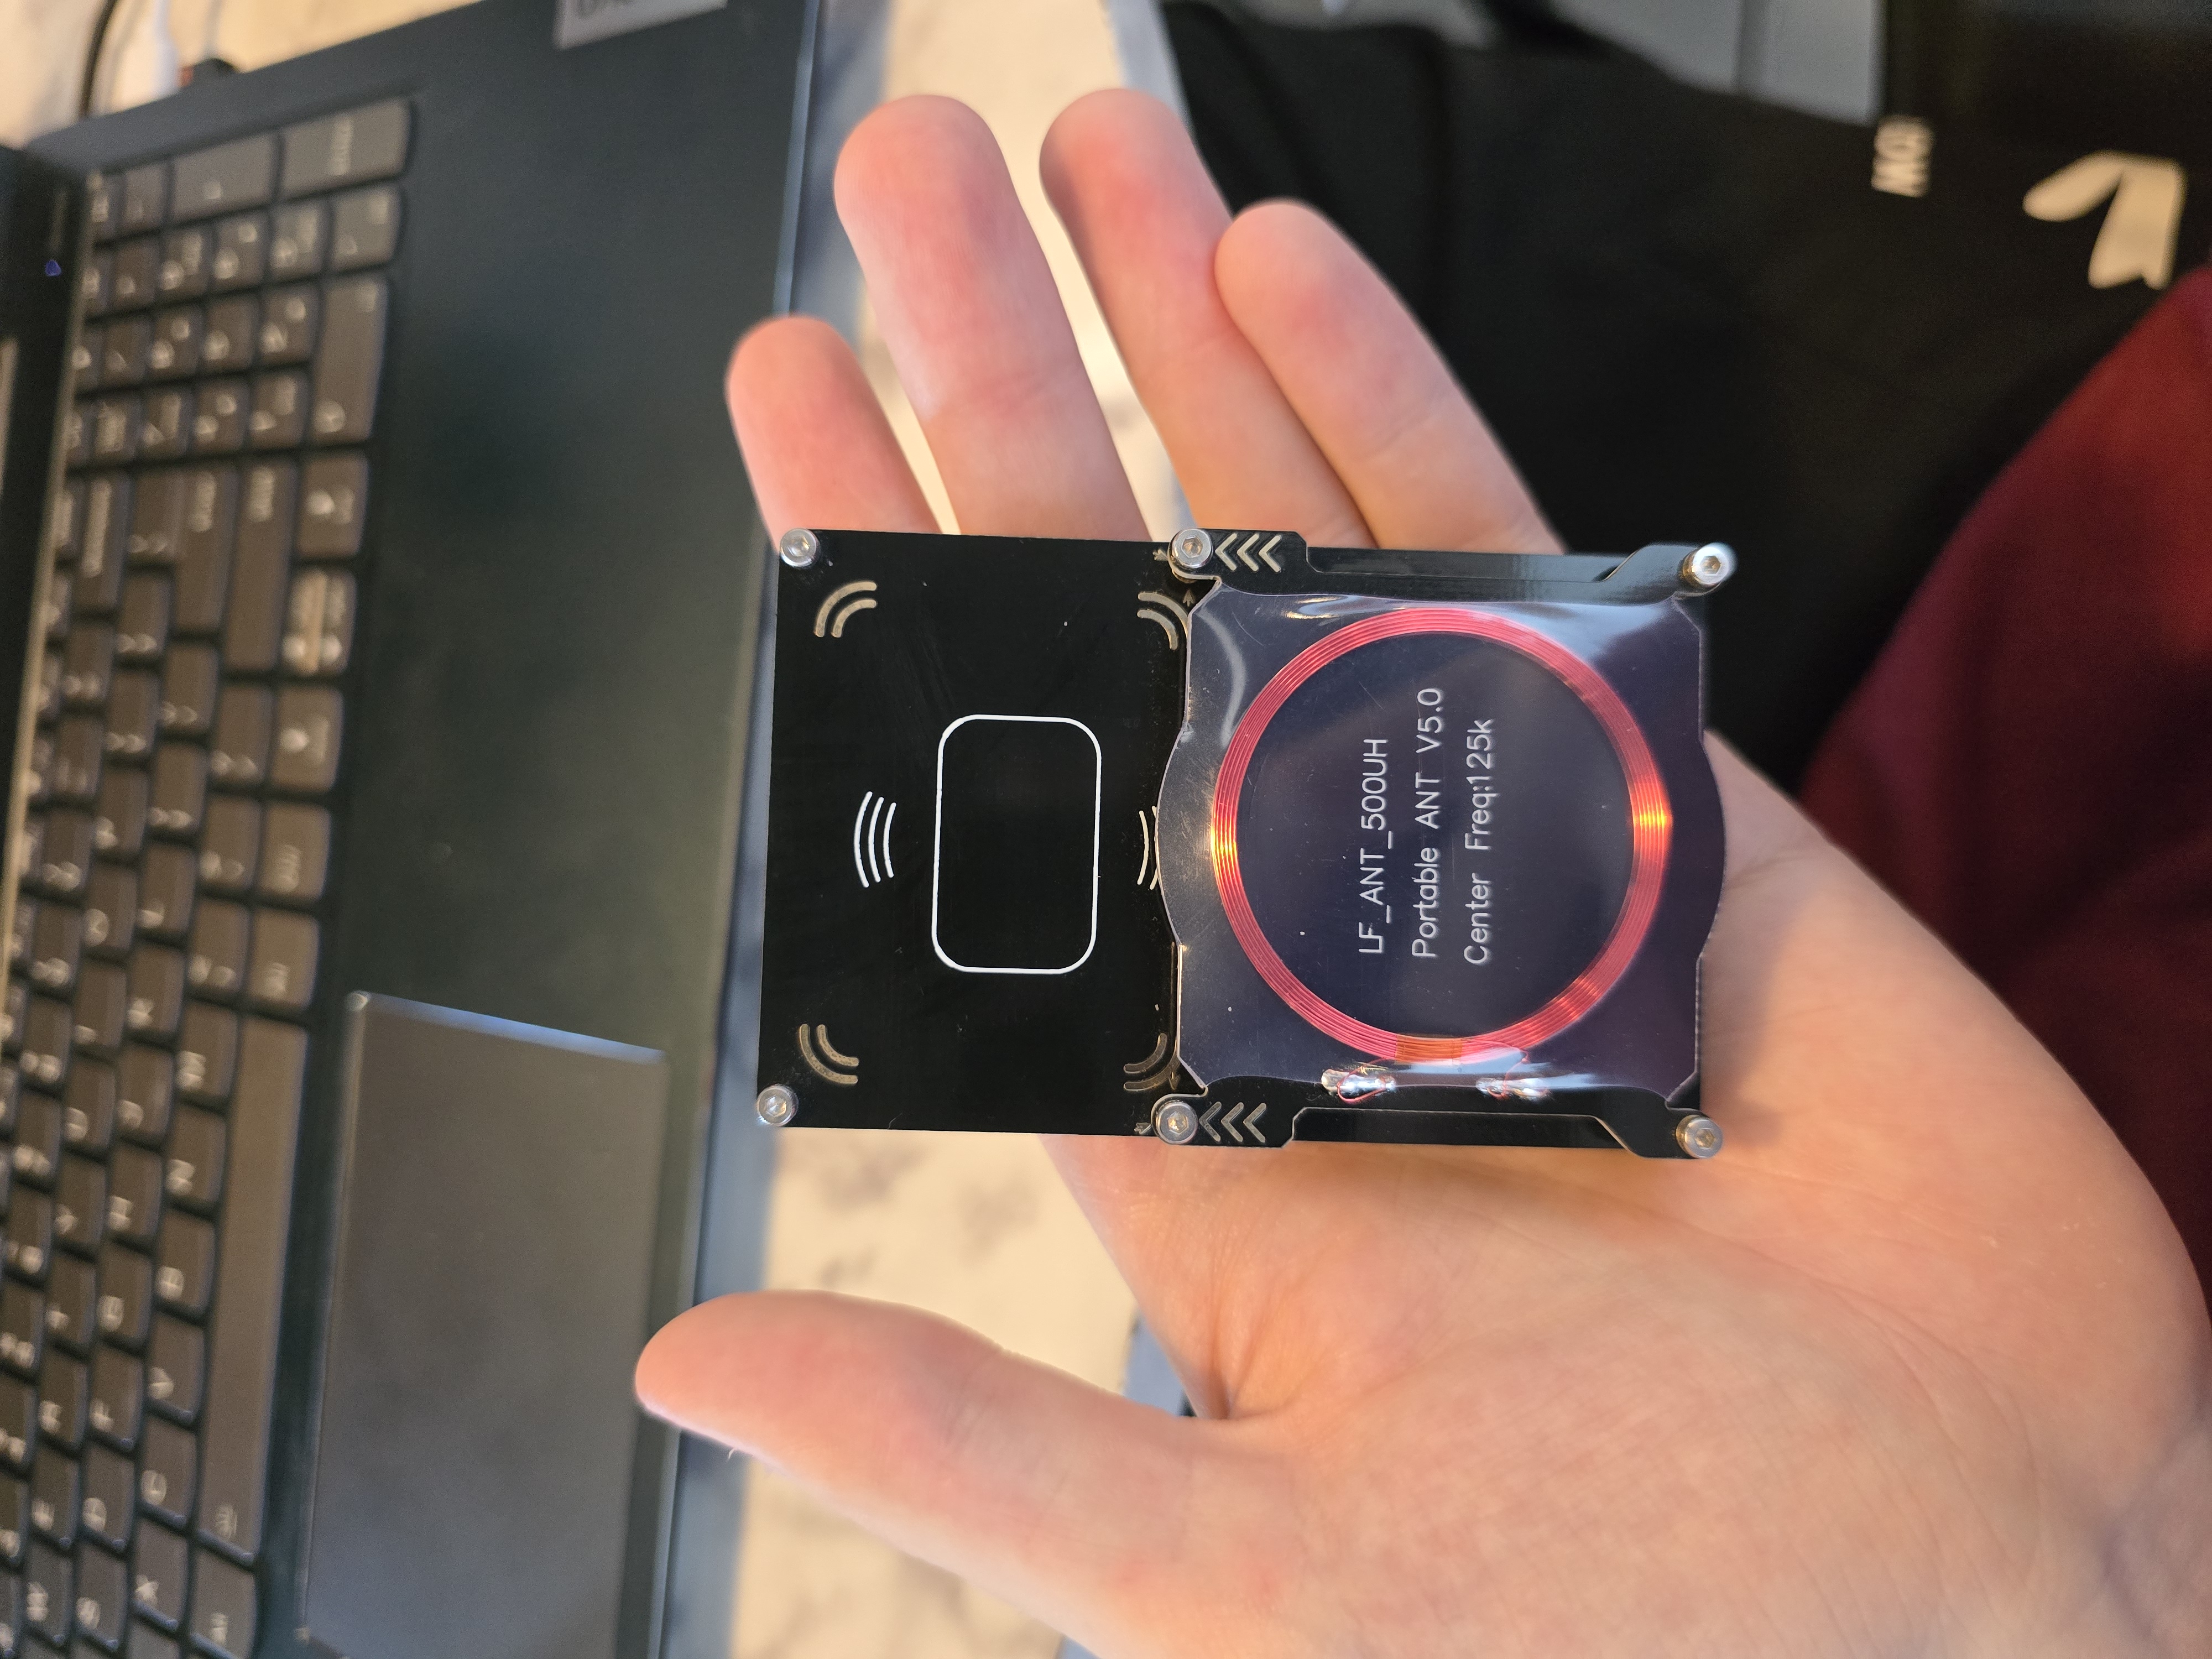
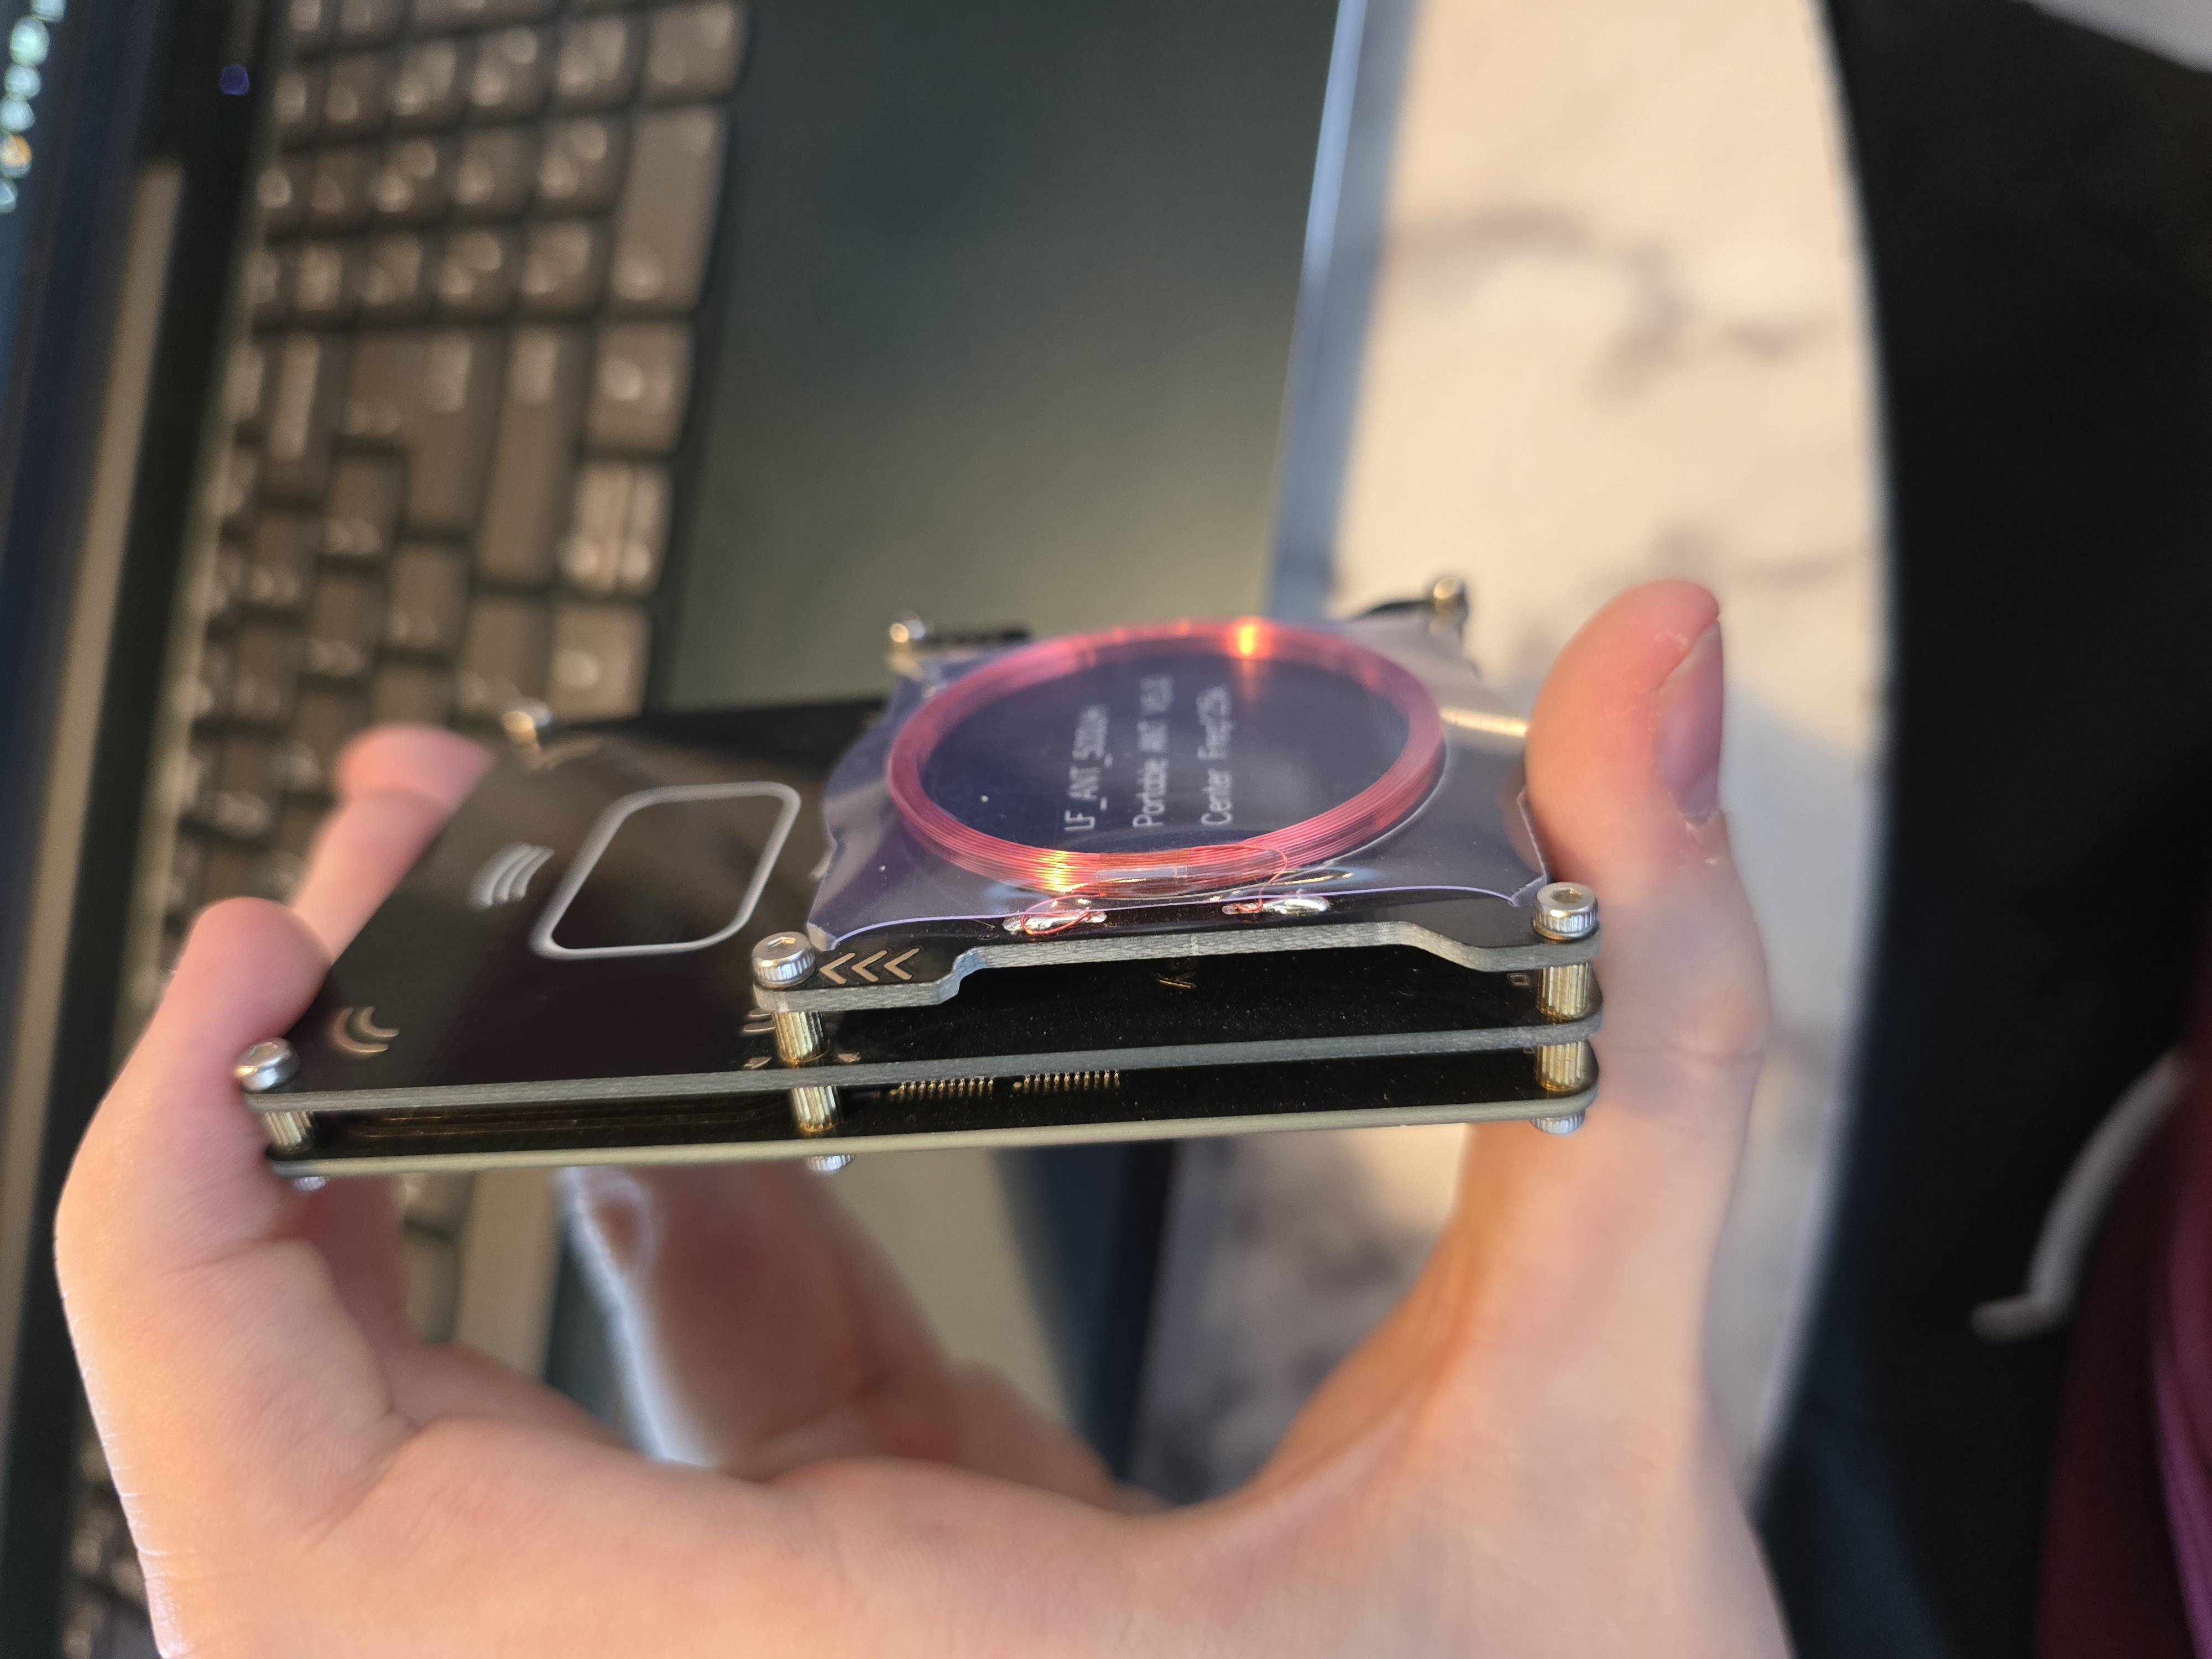
For context, NFC operates at 13.56 MHz. Think Apple Pay, building-entry keycards, and tap-to-pay. The low-frequency range is used for things like animal tags and some ID cards, along with other short-range, low-data-throughput applications. Together, these bands cover a lot of familiar “tap or swipe here and something happens” tech.
The hardware gives us the ability to interact with these bands; the software is what gives it power. It’s custom firmware for the Proxmark that unlocks some fun capabilities.
Setting up
To get started, clone the Iceman firmware repository. Depending on your specific hardware, you may need to change a few build options. My device is a Proxmark3 Easy 512, a budget model. For this one, I need to change the PLATFORM variable in Makefile.platform to PM3GENERIC (ref).
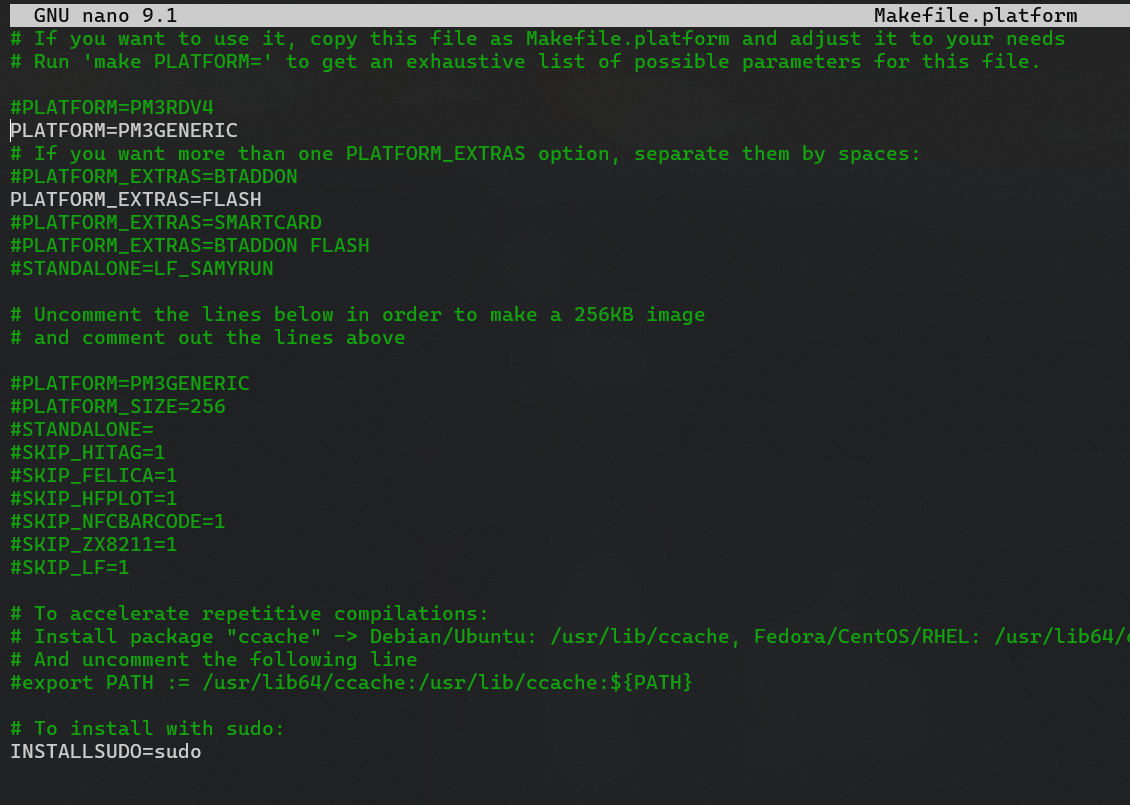 With that set, all that’s left is to compile the firmware and client:
juicecat@Sovngarde-2:~/RFID/proxmark3^master ±
% make clean && make -j                                                                                                                 26-10-13 - 13:46:11

===================================================================
Version info:      Iceman/master/v4.23346-153-g162acb60a
Platform name:     Proxmark3 generic target
PLATFORM:          PM3GENERIC
PLATFORM_FPGA:     xc2s30
PLATFORM_SIZE:     512
Platform extras:   FLASH
Included options:  FLASH LF HITAG EM4x50 EM4x70 ZX8211 GENERAL_HF ISO15693 LEGICRF ISO14443b ISO14443a DESFIRE_SIM ICLASS SEOS FELICA NFCBARCODE HFSNIFF HFPLOT COMPRESSION
Standalone mode:   LF_SAMYRUN
...SNIP...
[*] MAKE fpga_compress/all
make[2]: Nothing to be done for 'all'.
make[1]: Leaving directory '/home/juicecat/RFID/proxmark3'
make[1]: Entering directory '/home/juicecat/RFID/proxmark3'

===================================================================
Version info:      Iceman/master/v4.23346-153-g162acb60a
Platform name:     Proxmark3 generic target
PLATFORM:          PM3GENERIC
PLATFORM_FPGA:     xc2s30
PLATFORM_SIZE:     512
Platform extras:   FLASH
Included options:  FLASH LF HITAG EM4x50 EM4x70 ZX8211 GENERAL_HF ISO15693 LEGICRF ISO14443b ISO14443a DESFIRE_SIM ICLASS SEOS FELICA NFCBARCODE HFSNIFF HFPLOT COMPRESSION
Standalone mode:   LF_SAMYRUN
===================================================================
[*] MAKE cryptorf/all
[-] CC cm.c
[-] CC ../../common/cryptorf/cryptolib.c
[-] CC util.c
[-] CC sm.c
[-] CXX sma.cpp
[-] CXX sma_multi.cpp
[=] CXX cm
[=] CXX sm
[=] CXX sma
[=] CXX sma_multi
make[1]: Leaving directory '/home/juicecat/RFID/proxmark3'
DONE
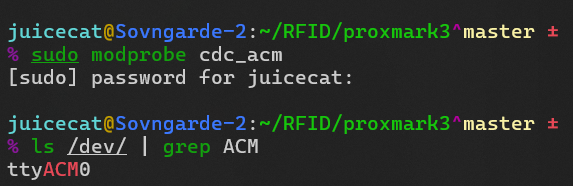
To talk to the device from WSL2, we first need to find it. According to the documentation, on a Linux system the device appears under /dev/ as /dev/ttyACM<number>. But if you list the devices in WSL2 right now, you won’t see it.

Let’s put a bookmark here and move over to the Windows host. USB devices aren’t automatically available inside WSL2, so we need to attach the Proxmark to our WSL2 instance.
For that, we’ll use usbipd, which you can install with the Microsoft package manager:
PS> winget install usbipd
Now we can list the USB devices and find the right bus ID:
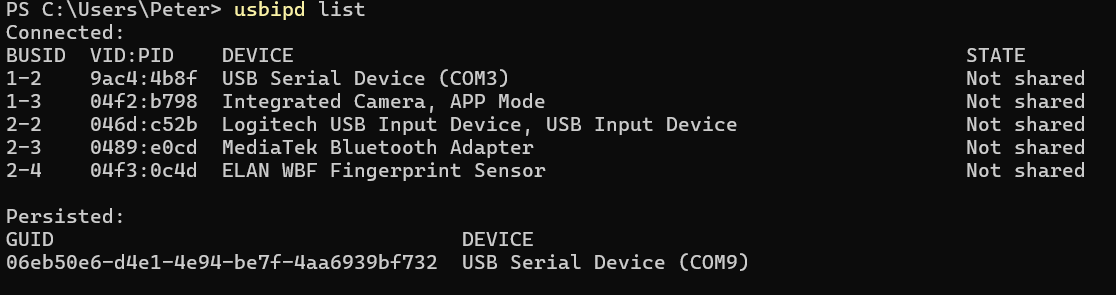 To identify the Proxmark, you may need to run the command once with the device unplugged, then plug it in and compare the output. In my case, the Proxmark shows up as
 9ac4:4b8f, with BUSID 1-2.
With the BUSID in hand, run usbipd bind -b <BUSID> to share the device:
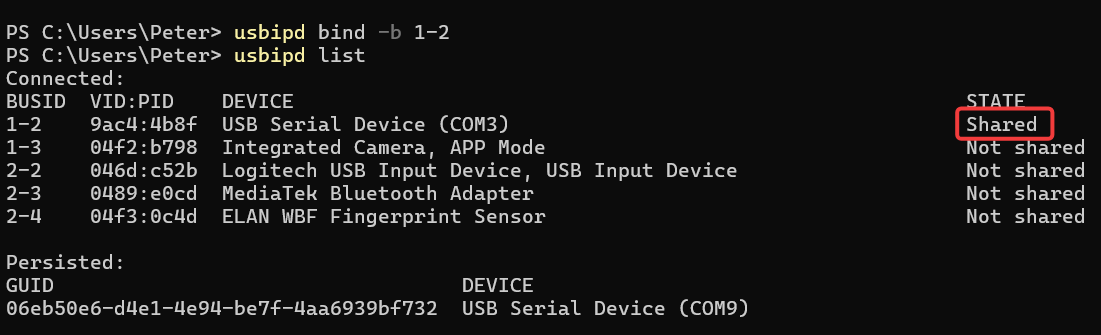 You'll notice that the device now appears as Shared. With it now shared, we can forward it to our wsl instance:

Restart the local modprobe service, and you should see the device:
Flashing
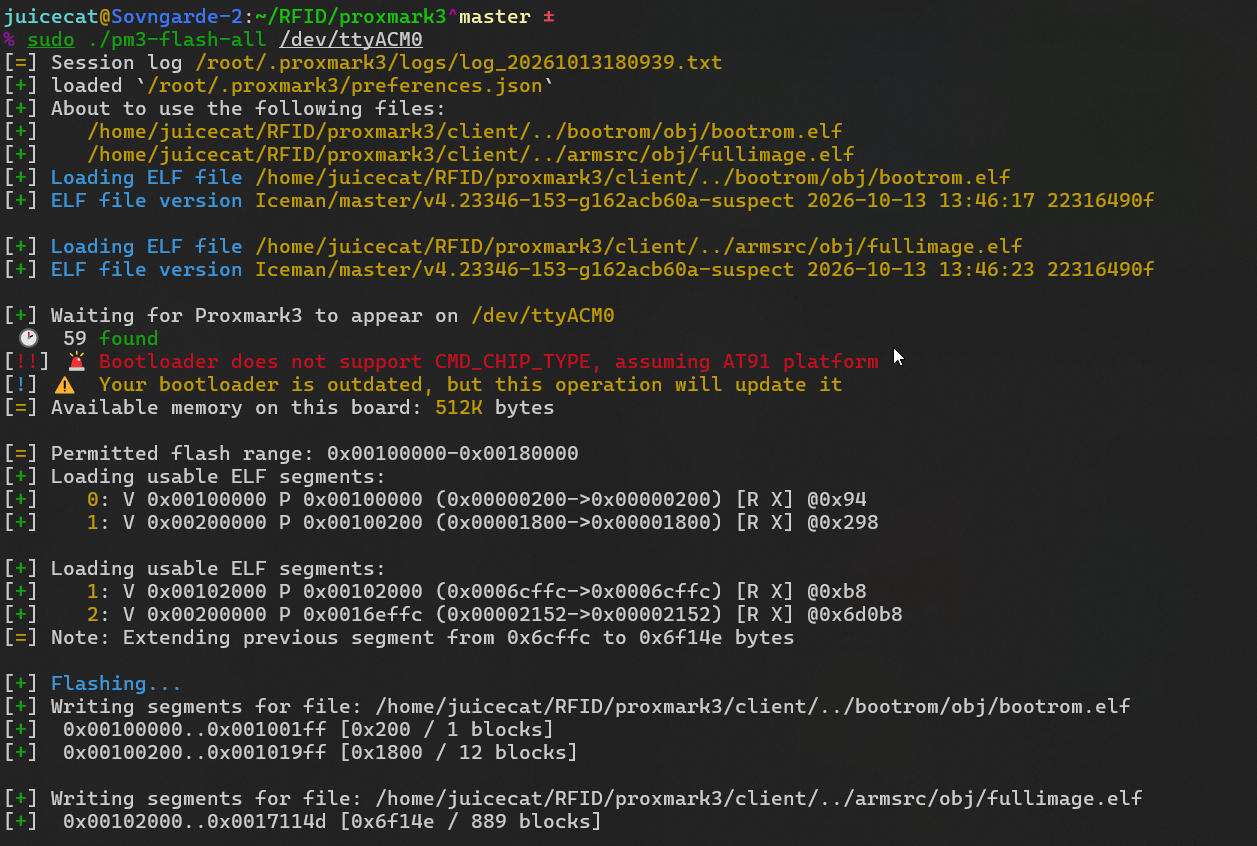
Now that WSL2 can talk to the Proxmark, we can pick up where we left our bookmark. First things first: update the device firmware with pm3-flash-all. The build creates this for us:
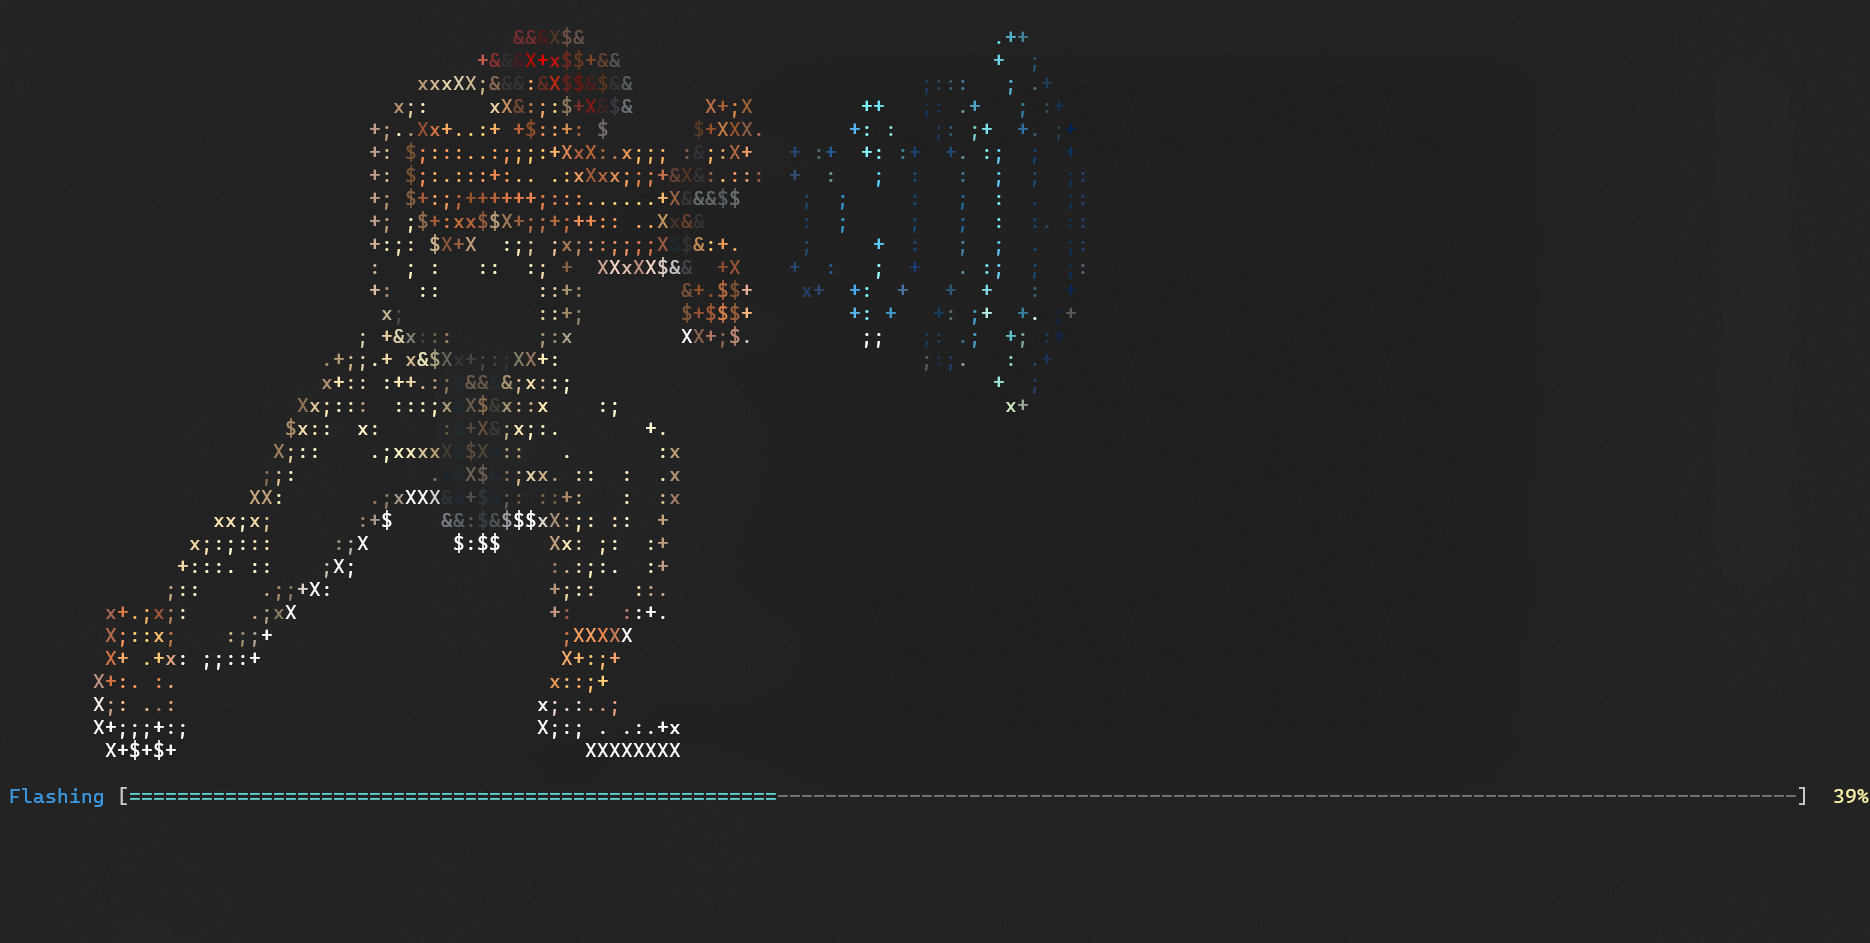
During the flash, we get a nice hadouken ascii art
Connecting
Once the flash is done, run the pm3 binary with sudo to start an Iceman session:
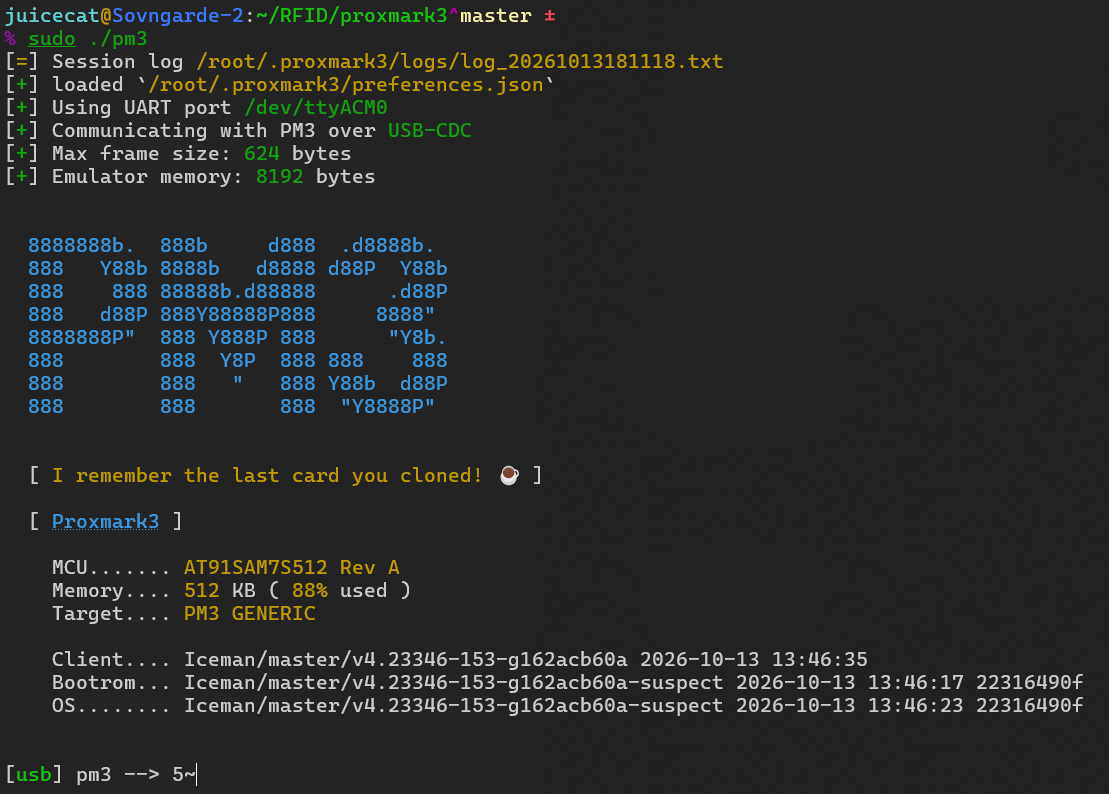
Now that it’s working, we can start messing around with it. I’ll be back with a post on how to use it; for now, this gets us through setup, which can be a bit confusing in WSL2.